 |
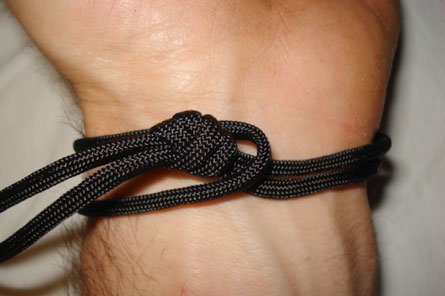
Step 1:
Cut a two-foot of cord, melt the ends, and fold it in half.
Wrap the doubled-up cord around your wrist.
Pull the tag ends through the loop.
Tie an overhand knot with the ends.
Adjust the knot so you can slip a finger
between the cord and your wrist. |
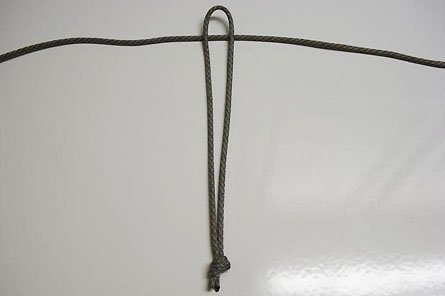 |
Step 2:
Lay the remaining eight feet of cord in front of you horizontally.
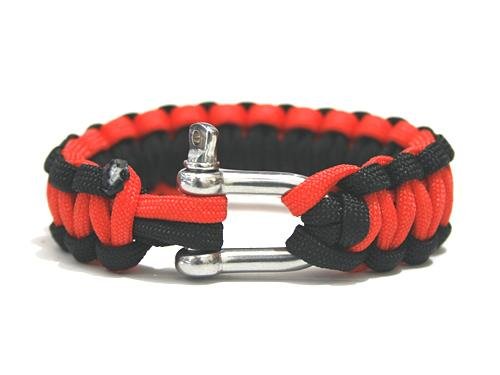
Note: In the rest of the photos, this cord is red, not brown.
Now place the base cord, with the loop at the top,
over the middle of the eight-foot cord, forming a T. |
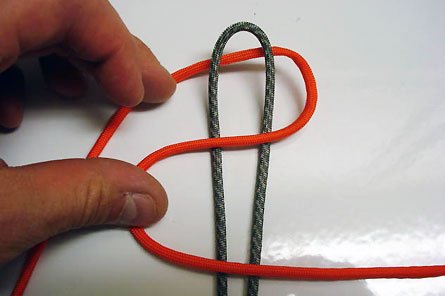 |
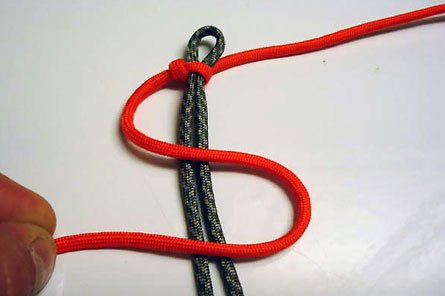
Step 3:
Make a cobra knot.
To start, take the cord on the right and
bring it over the top of the base cord to form a Z. |
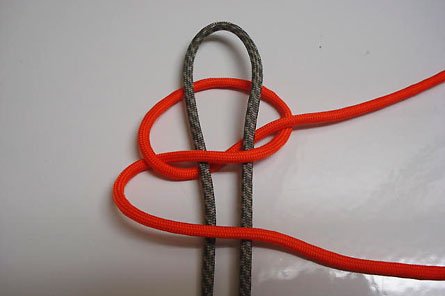 |
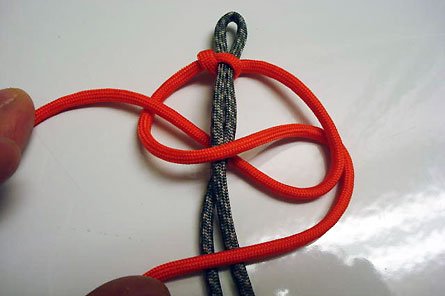
Step 4:
Take the left cord and thread it down through
the loop on the left side of the base cord.
Go under the base cord and up inside the loop on the right.
Pull tight. |
 |
Step 5:
Make sure the overhand knot will fit through
the small loop at the top of the base cord.
Next, starting on the left, reverse the process.
Begin by, this time, making an S. |
 |
Step 6:
To finish reversing the step,
bring the right cord down through the loop right of the base cord.
Go under the base cord and up inside the loop on the left. Pull tight. |
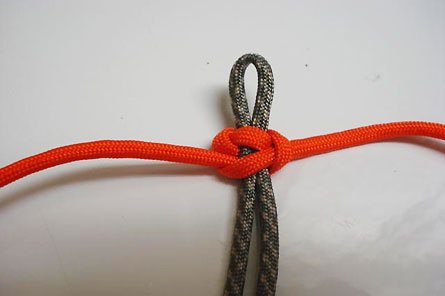 |
Step 7:
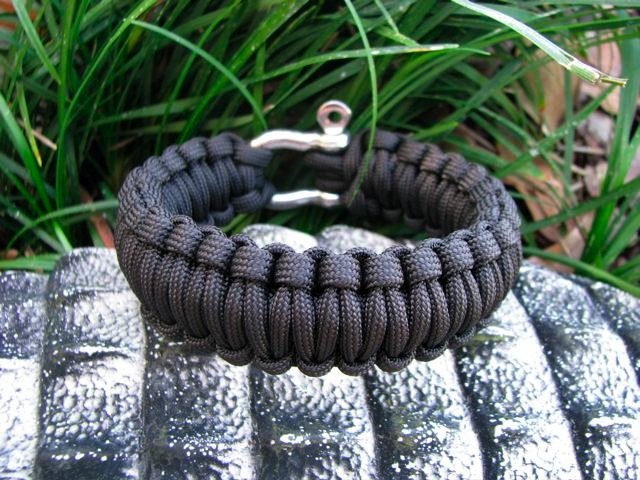
You've now completed the first cobra knot.
Continue making cobra knots until you are about one-quarter of an inch from the stopper knot. |
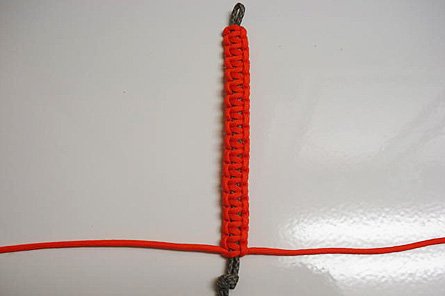 |
Step 8:
Check the fit on your wrist by pushing the
stopper knot through the loop at the apex.
You can adjust the fit by moving the knot up or down.
The bracelet should fit snugly without being too tight.
When you're done, trim the tag ends and melt them. |
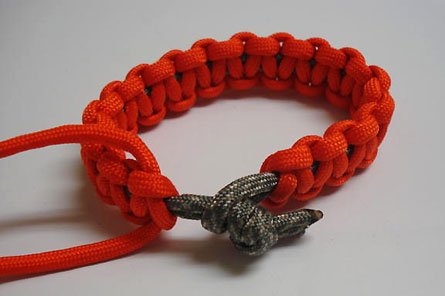 |
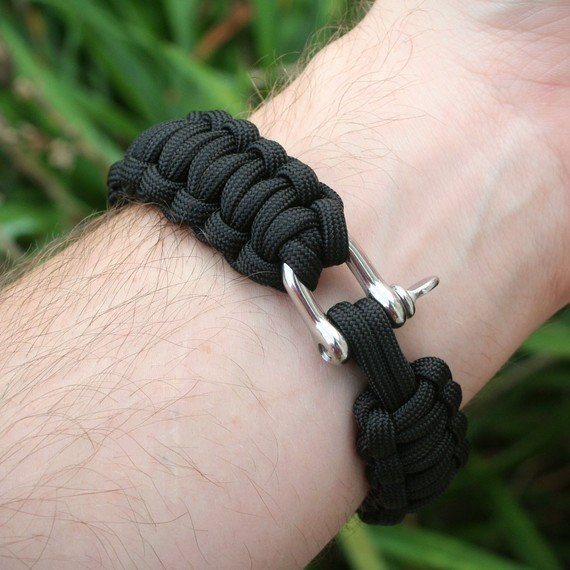
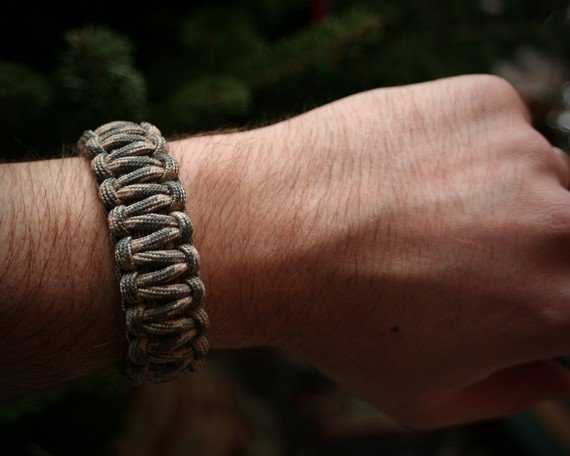
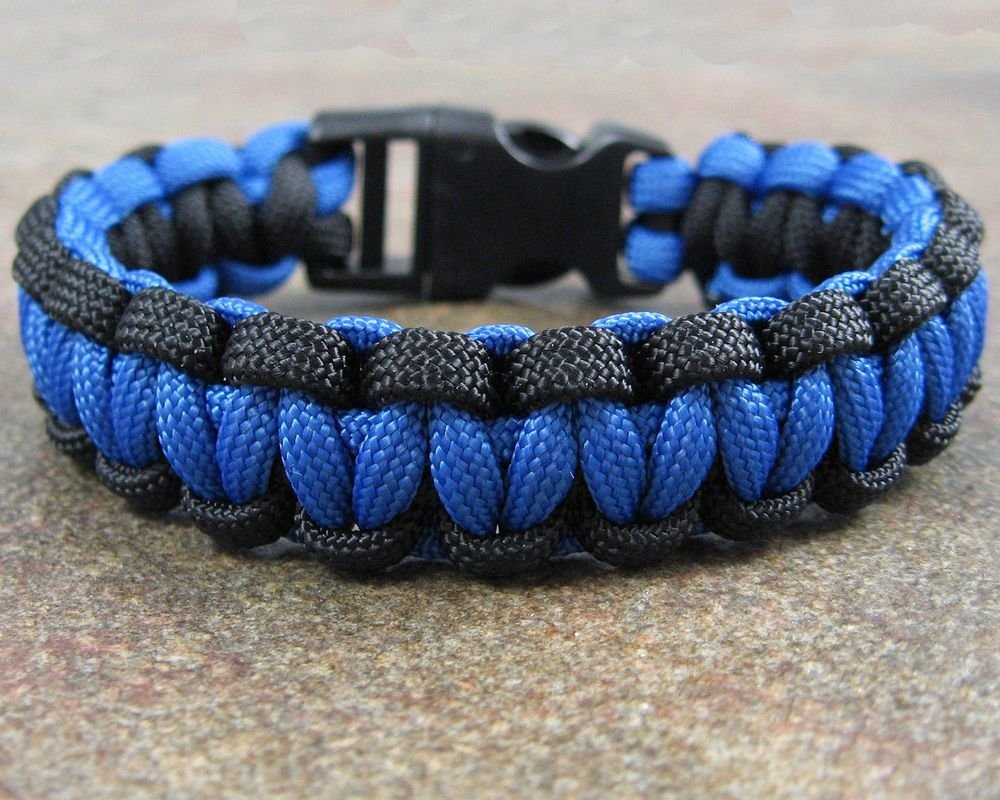
Step 9:
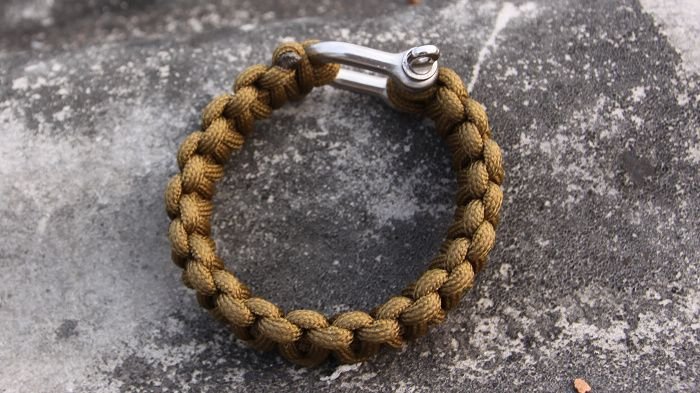
To wear, push the stopper knot through the loop
to hold the bracelet securely on your wrist.
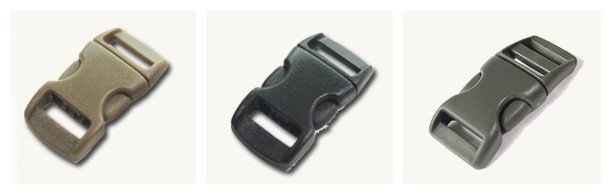
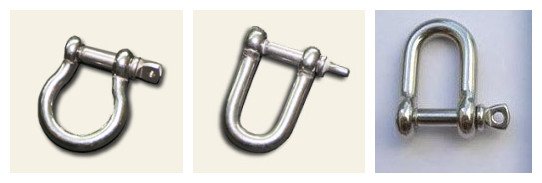
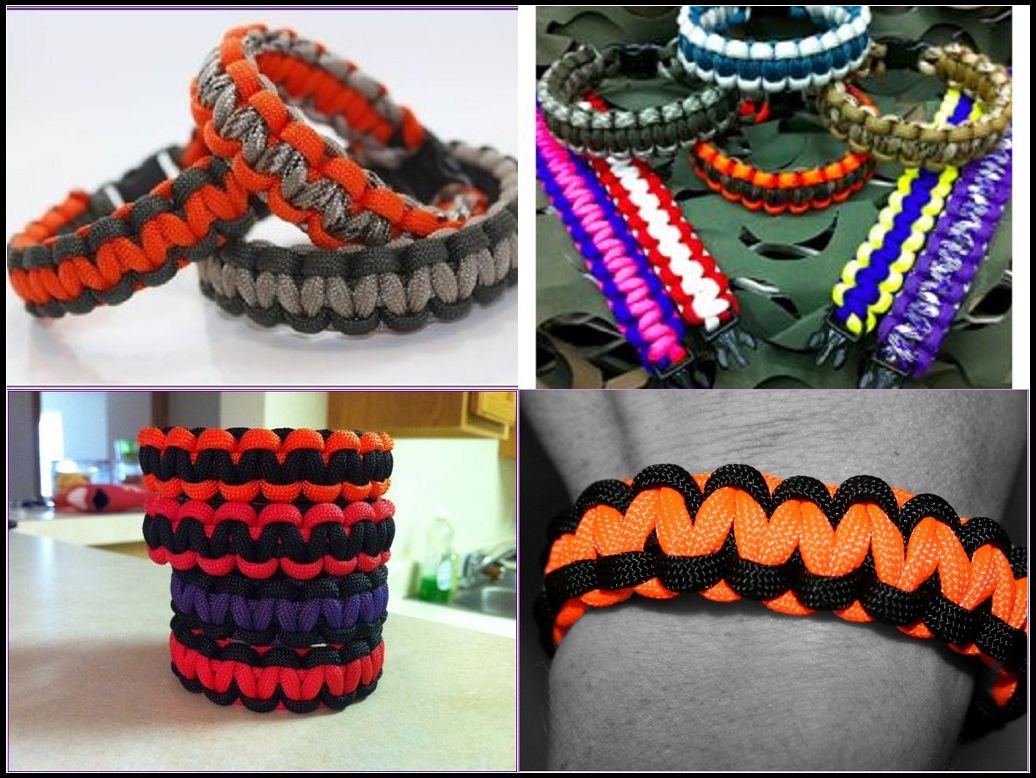
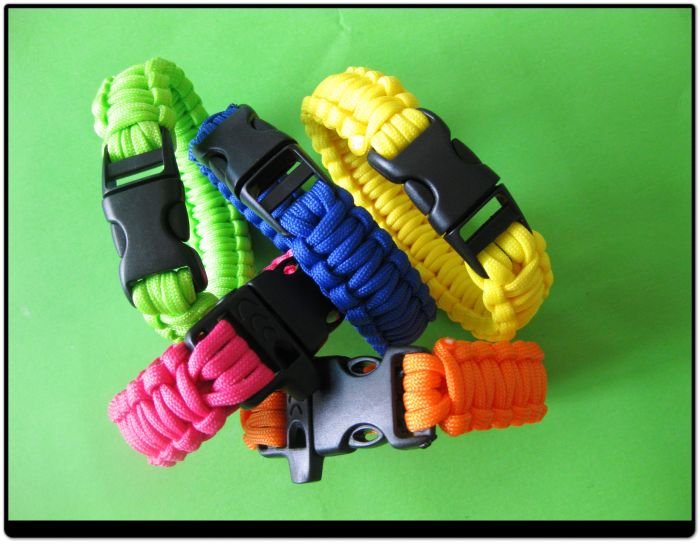
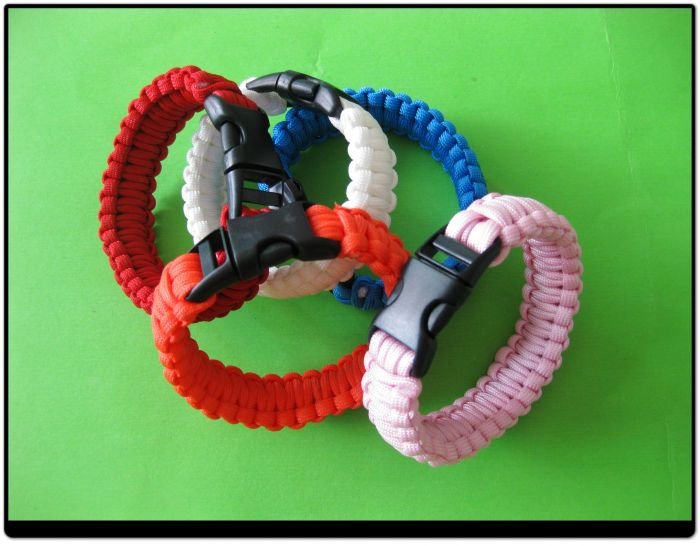
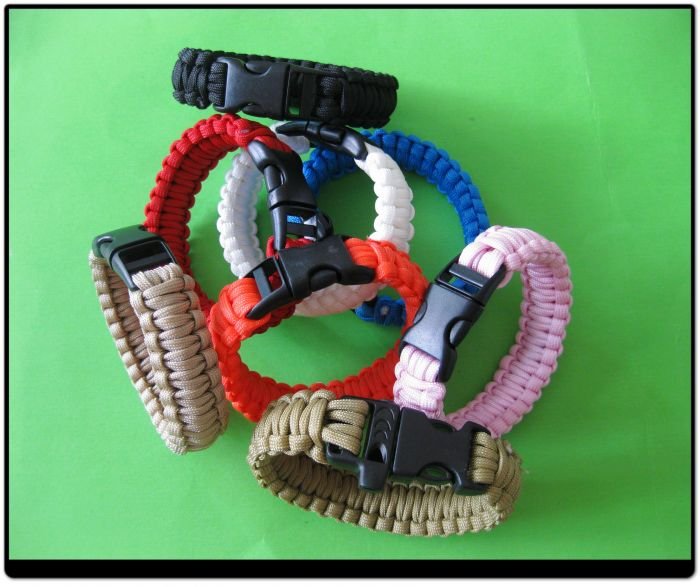
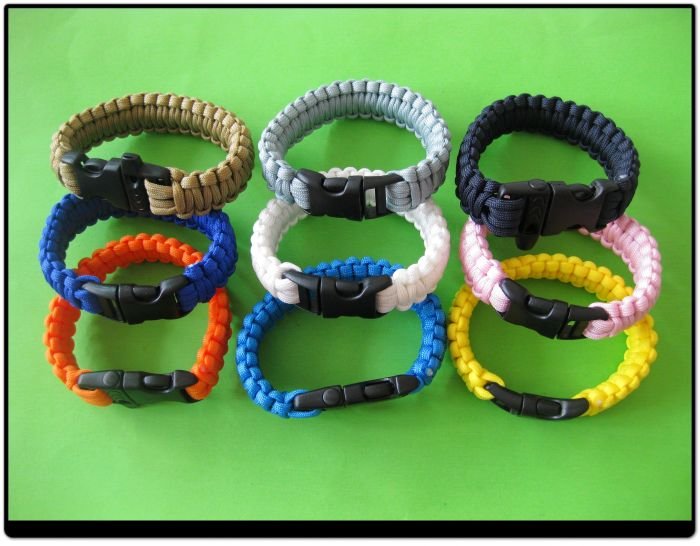
If desired, you can also add wooden toggles, buttons, buckles,
and other fastening methods.
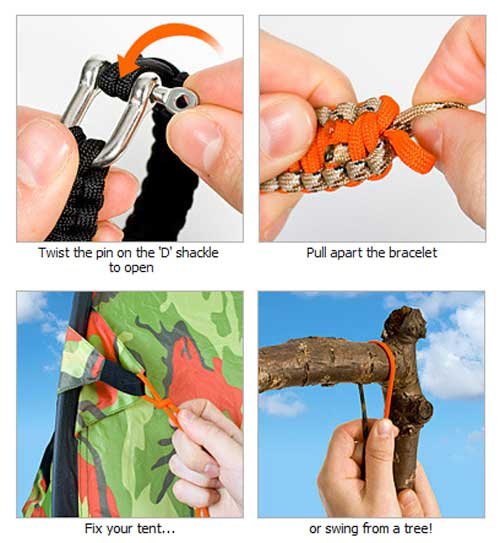
To use the cord, simply unweave the bracelet. |